door sign
 | |
|
status: complete aw yeah, something completely original, babey! (unless you count the "before" as a plain piece of cardstock) i wanted a little sign for the outside of my door, like my own version of an ironic welcome doormat. so i made a collage out of disney princesses, put letter stickers over it, and voila!
...or, in english, "abandon all hope, ye who enter here." in the divine comedy (aka dante's inferno), this is the greeting on the arch that serves as the entrance to hell there's also an alternate translation, "abandon hope, all ye who enter here." while that's the version that's quoted more often, i personally prefer the other translation, because while it's a subtle shift in word placement, i find it resonates more deeply. "abandon all your hope, motherfuckers," as opposed to "all y'all motherfuckers better abandon hope" overall cost: $2 |
unicorn cube bins
|
before coming soon |
after coming soon |
|
status: wip this project has been so, so cursed one of the ways i'd intended to use a couple of smaller cube shelves fell through*, so i ended up putting them next to a larger one i was using as my entertainment center for a total of... 15 cubes. O_O i don't like how they look when they're open shelves, so i got bins to put in them for hidden storage. all was well for a little while, until my cats decided to use them as a scratching post. i'm talking absolute shredded cardboard and fabric carnage i decided to reupholster them with the unicorn fabric (it was for this project i actually got so much of it to begin with lmao), and then i attempted to cover the fronts with clear plastic to dissuade the scratching. it... did not work out so well. it looked cute enough, and the clear plastic was barely noticable... but my cats felt the same way and kept scratching them anyway, despite me also spritzing them liberally with cat deterrent spray my next step was to look for a different material entirely. you'd think someone out there would have created plastic bins that fit the 11x11 dimension, considering how common these cube shelves are... but you'd think wrong. i looked. oh, i looked so very desperately lol. the other option i found were woven baskets, which while pretty, were still just as, if not more, shreddable so. at this point i'd already invested quite a lot of time, money, and effort into this setup. i fell into despair and was disillusioned with the whole thing eventually i figured if i could put something hard and thicker than the plastic sheets on the front, maybe the cats would finally leave them alone. so with a bit of searching i was able to find 11x11 plywood pieces. they were thing enough that they wouldn't affect the depth too much, but hick enough to not be shreddable. bingo! so i put the same fabric around the plywood, then attached the plywood to the bins. great! perfect fit in the cube shelves! but then i realized it was too perfect of a fit, and there was nowhere to get your finger in to pull the bin out. god fucking damn it OKAY, what to do now??? then after much searching and comparing what was aesthetic and affordable, i settled on unfinished wooden knobs. i had paint from other projects and figured i'd just paint the knobs. another benefit to this was i could alternate the knob colors and use different ones still waiting to get them in the mail but then i'll be trying to finish this project up babey * you can stack the target (room essentials) brand 3-cube shelves on top of each other by their design, so i'd intended to stack two to put diagonally in the corner next to my wider bookshelves. (the idea was to make a corner library inspired by ikea billy bookcases.) it would have worked, but the house i live in is old and woefully the floors are very uneven, so the shelves did not stand up straight enough to properly align next to each other. if you have even floors and want to make one of those corner library dealeos tho, i recommend this because it's half the cost overall cost: $65 -_- (bins + fabric + plywood + knobs) |
|
acrylic rainbow magnets
| before |
after coming soon |
|
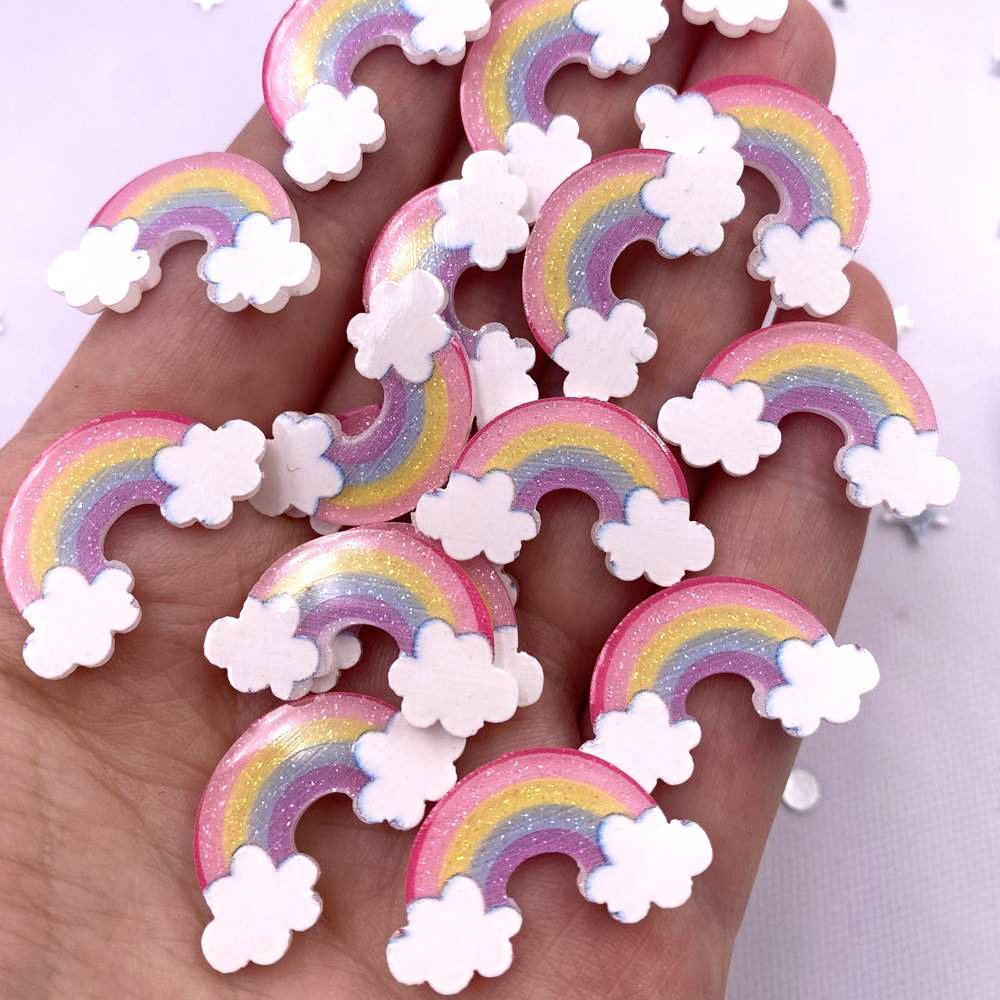
status: wip i randomly found this lot of 20 of these acrylic rainbows on ebay for $1.50 with free shipping. that was just way too good to pass up, lol. at a dollar tree trip i'd found some small adhesive magnets to put on the back of things. i'd gotten them to put postcards and stickers up on my magnet board, but then the idea struck me that if i put them on the back of these rainbows, i could have little rainbow magnets too lol. i also eventually intend to add pin-backs to some so i can use some as pins as well overall cost: $4 |
|
pinboard
| before | after |
|
status: complete i... forgot to take a pic right after i got it, so it's partially painted in the before pic :,) the pinboard was thrifted and $7. i already had the paint and fabric (take a gander at the unicorn lampshade lol), but even if i factored in the cost of those it still came out less expensive than brand new lol. my current after photo isn't the best bc it was an impromptu "show my friends" snapshot, a better photo with it hung up and actual pins on it will come eventually funnily enough, i'd made diy pinboard for roughly $4 by gluing two dollar tree presentation foamboard pieces together and wrapping a cheap thrifted baby blanket around them because a $40+ pinboard was not in my budget :,) hermes came in clutch on this one overall cost: $17 but not really-really lol |
|
unicorn lampshade
| before | after |
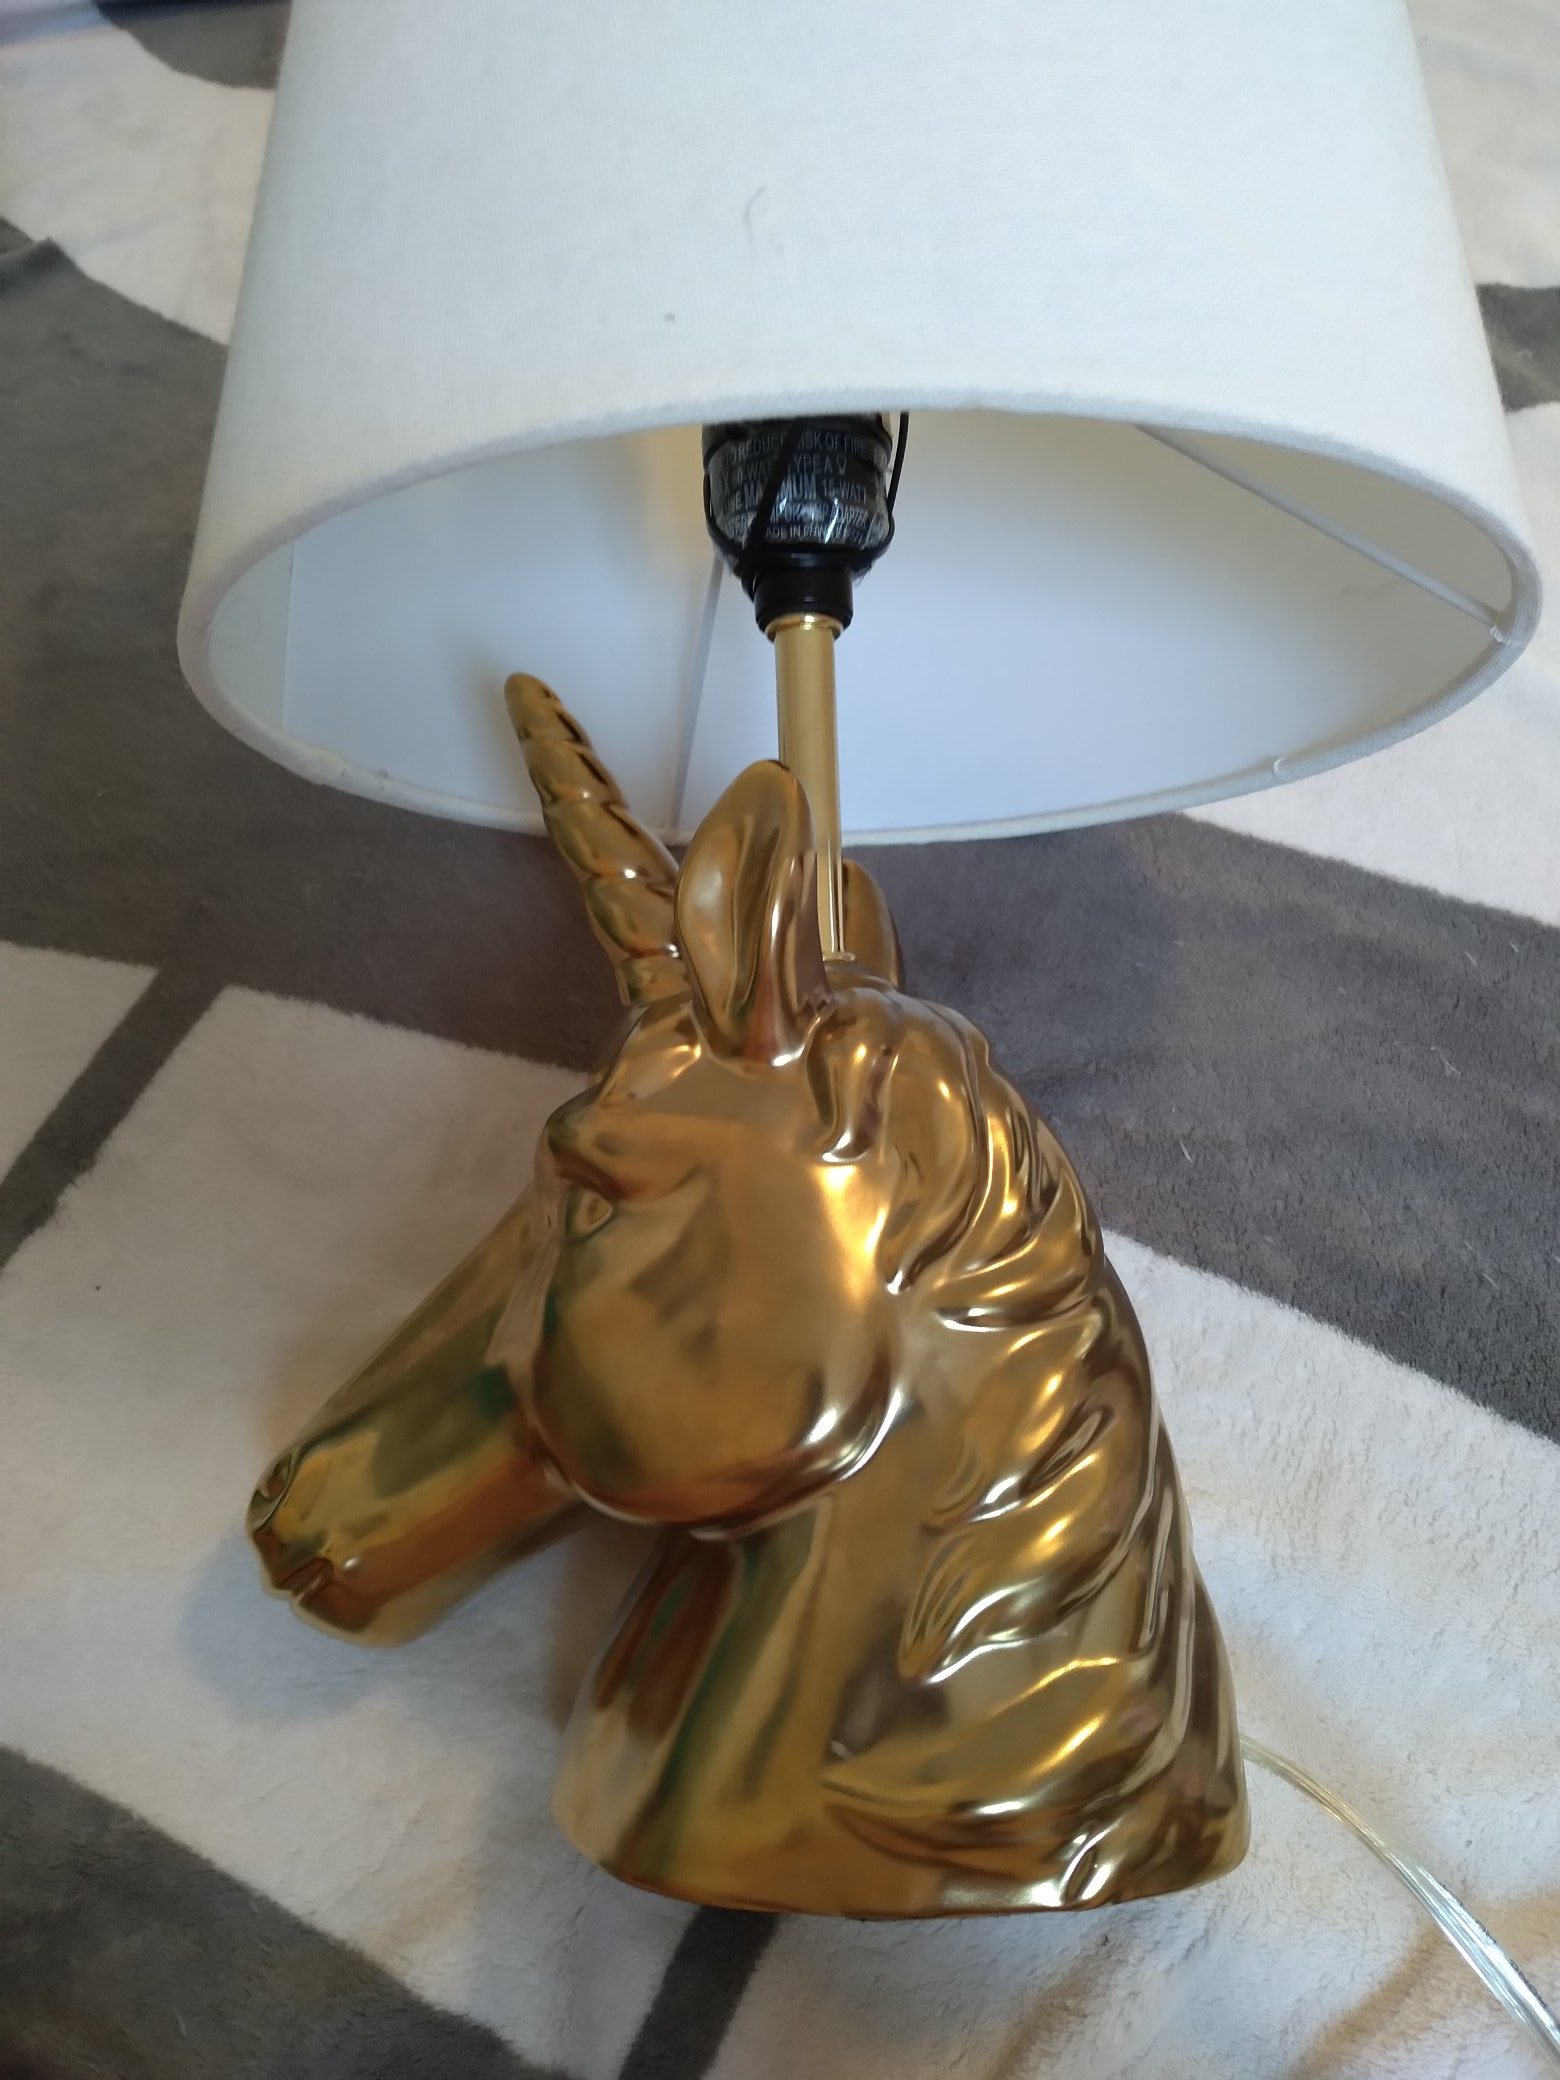
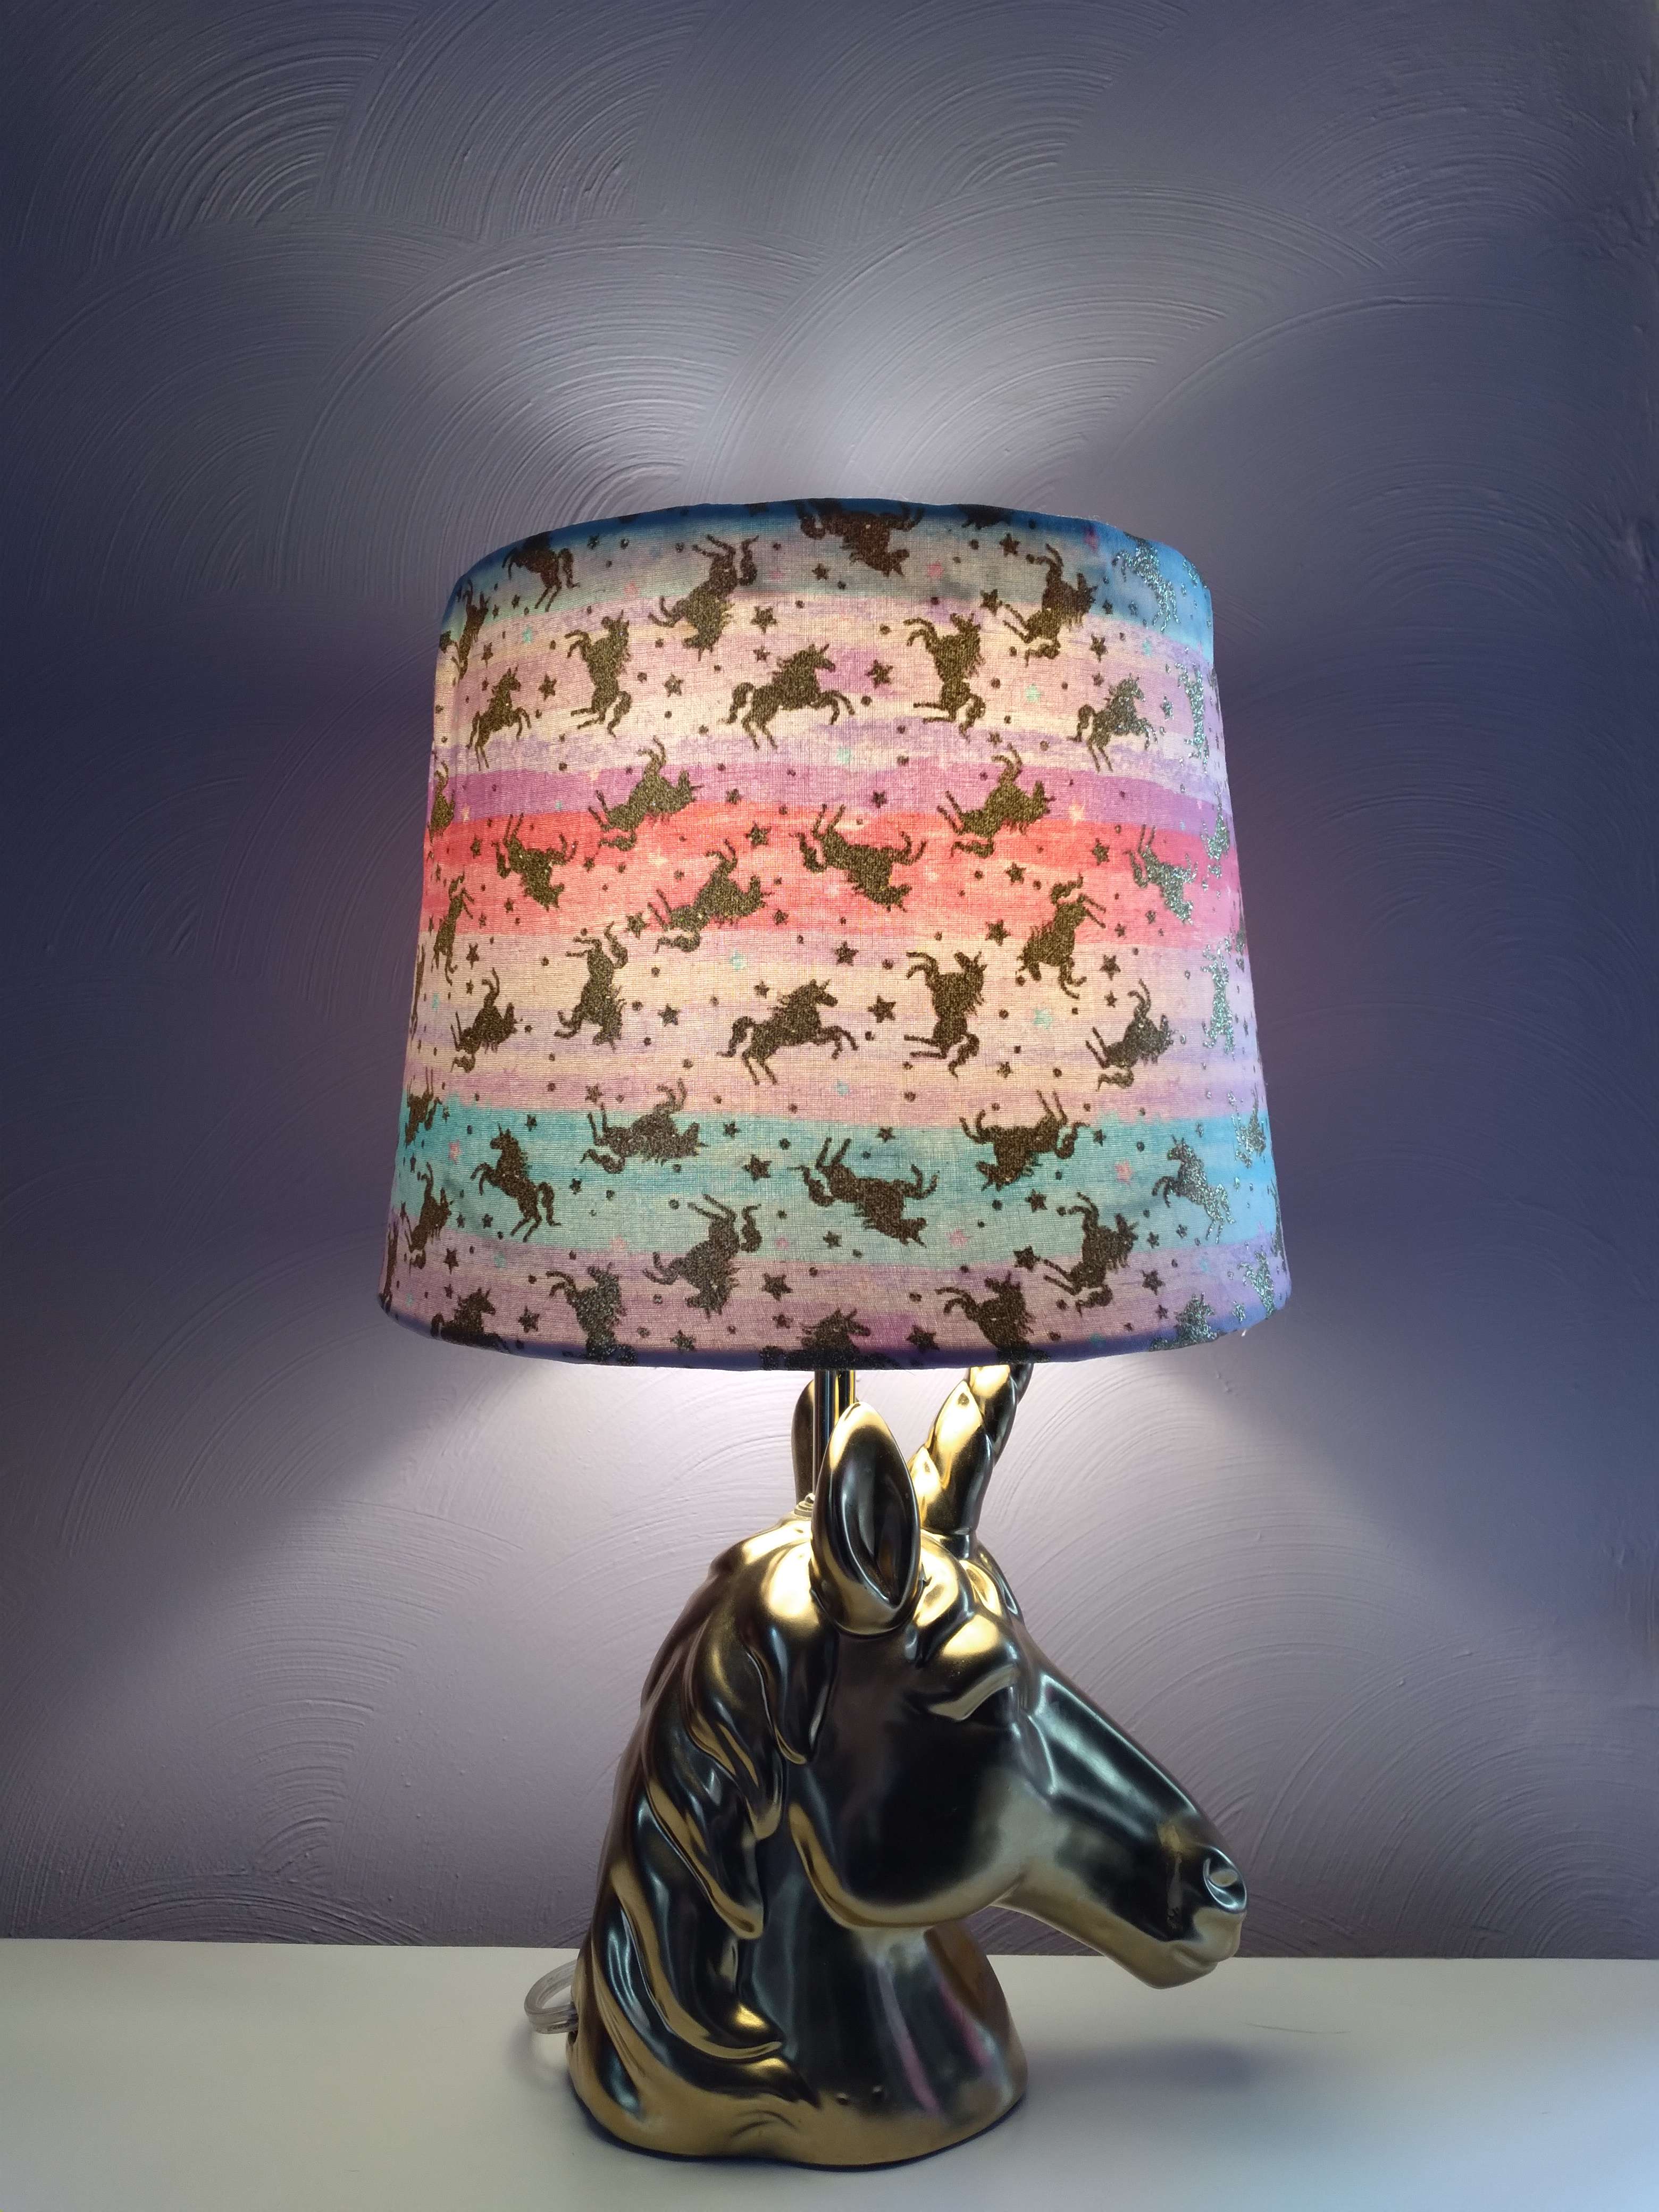
status: complete i got this lamp including the shade for a good price, but unfortunately the shade was a little broken. nothing some reupholstering didn't fix tho :) overall cost: $11 |
|
lazy susans
| before (2 tier) | before (3 tier) | after |
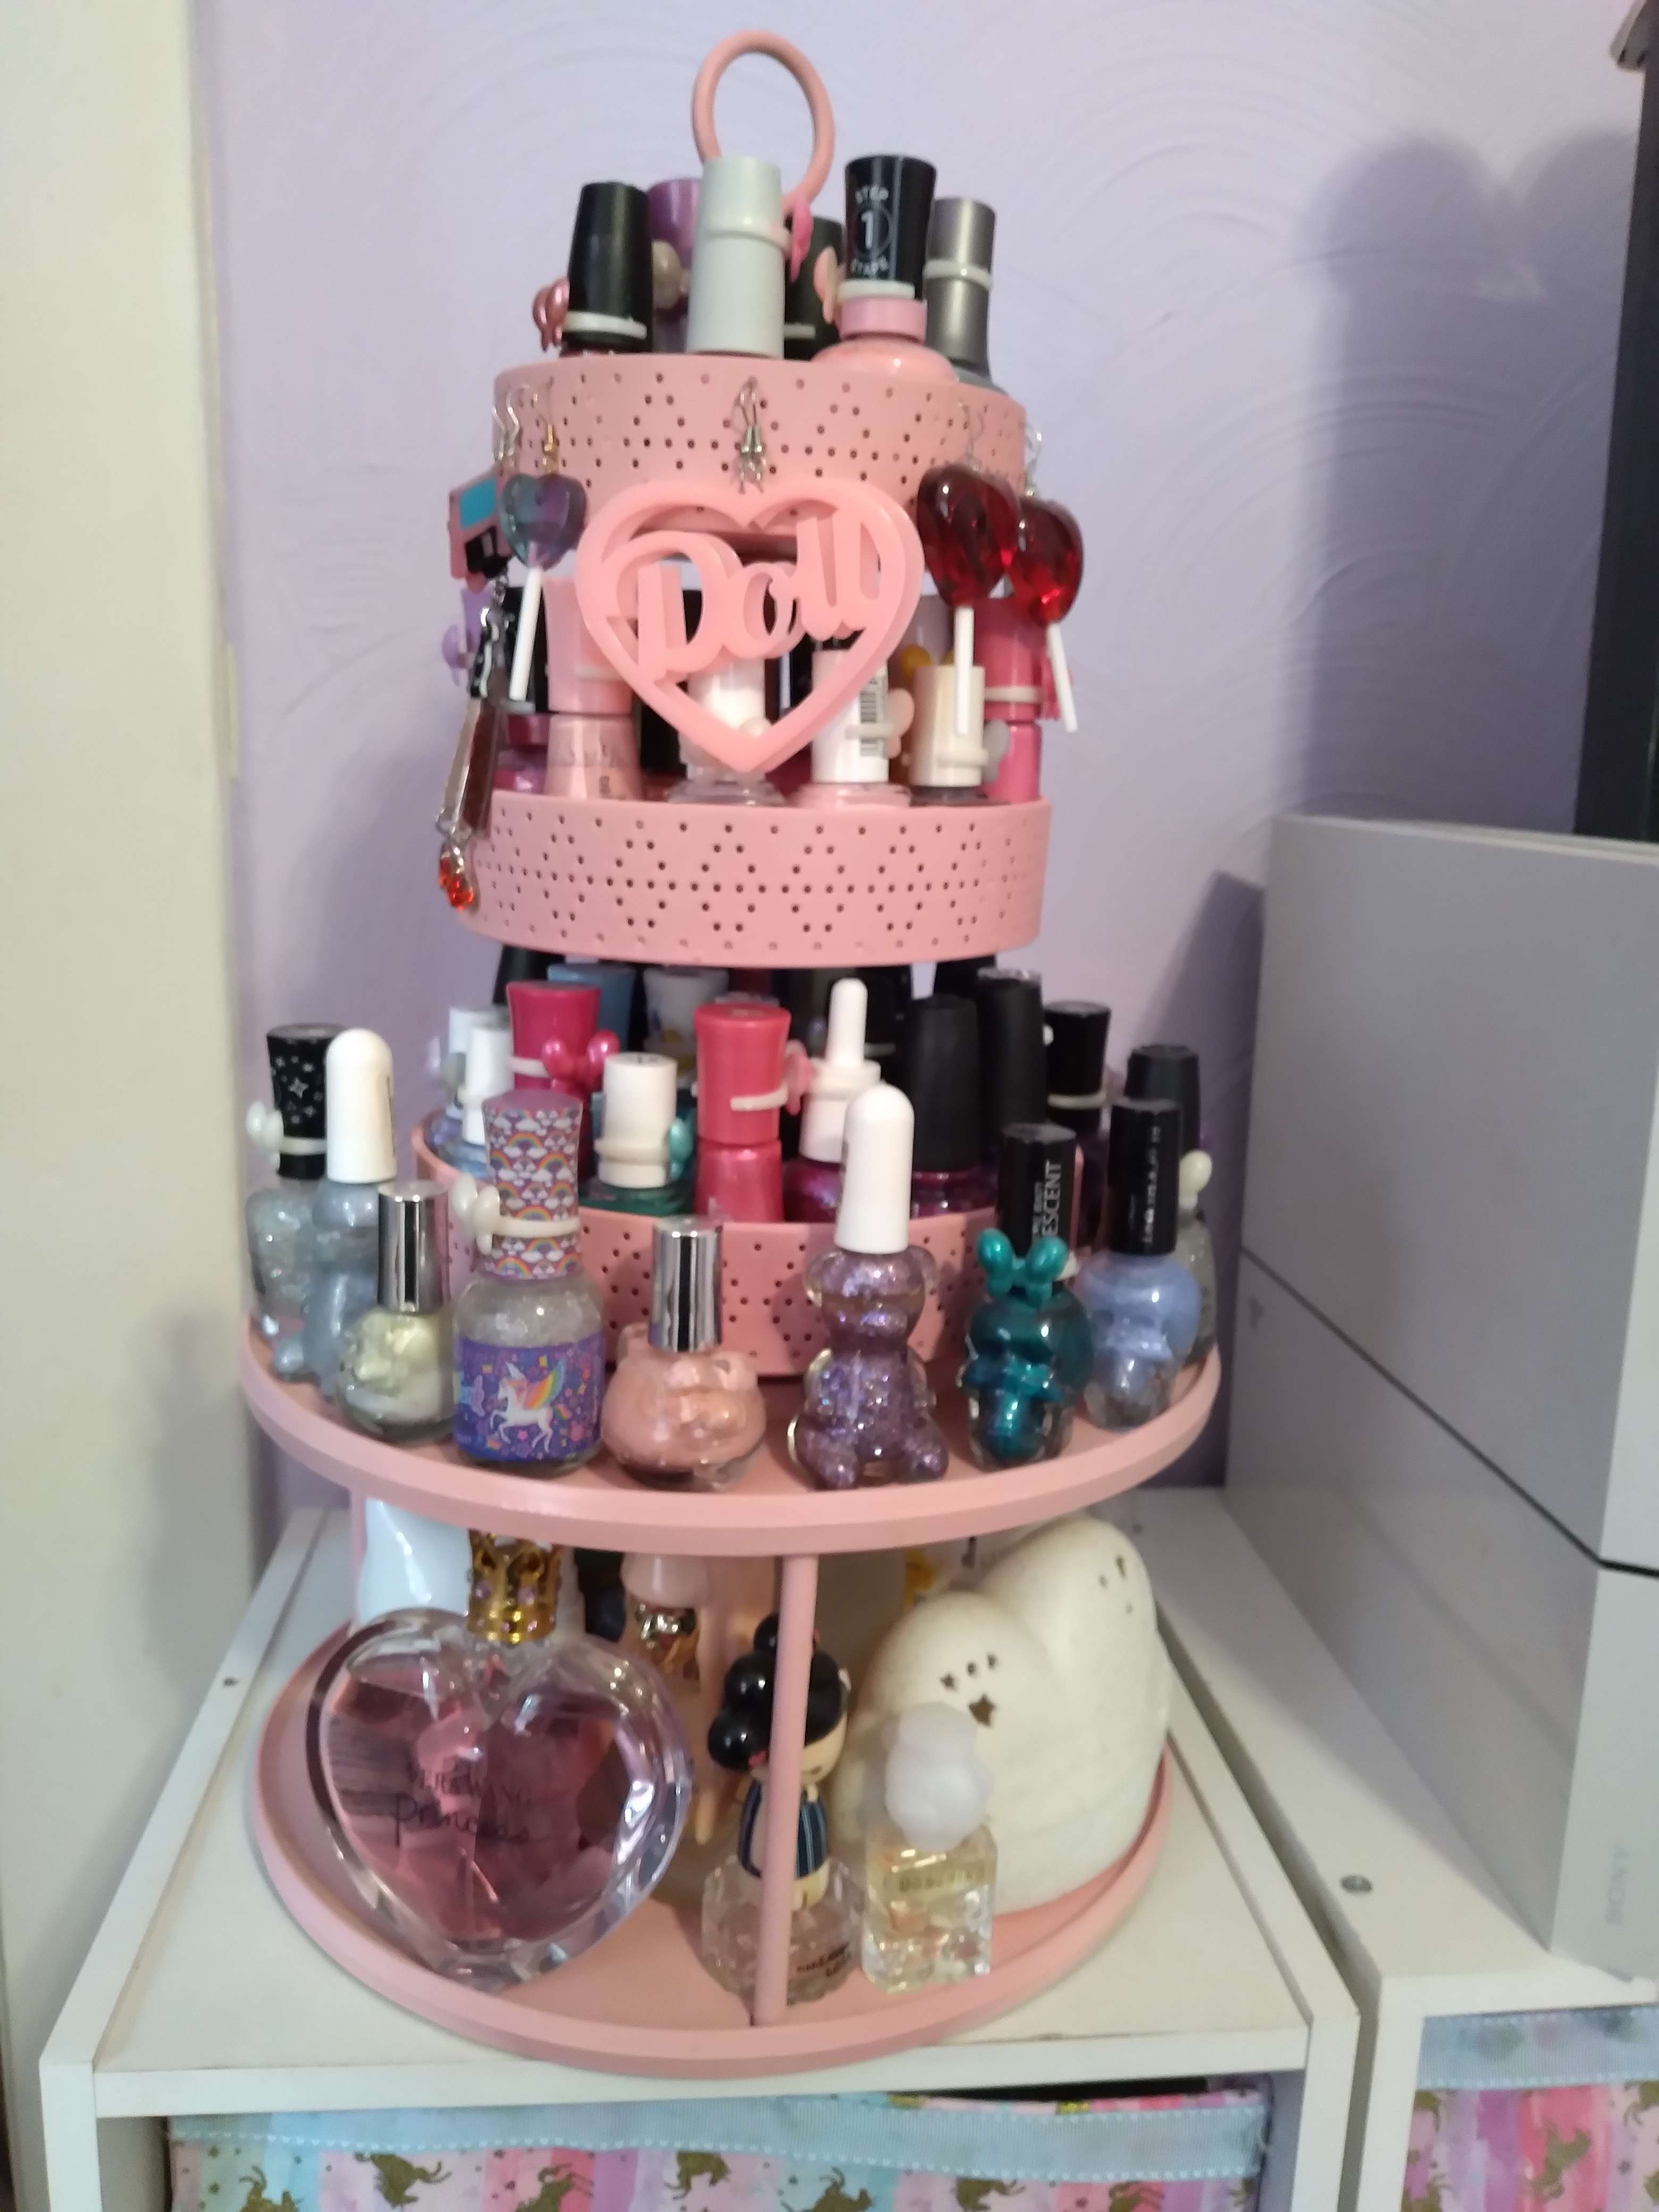
status: complete i found these lazy susans thrifting, on separate days. the two tiered one was ugly as sin, so i specifically got a can of spray paint to cover it lmao. then i lucked into the 3 tiered one, and while it looked okay before painting, when i realized i wanted it on top of the first one i decided to paint it the same color the 3 tiered one works perfectly to hold my nail polish and display my statement earrings! and it has just enough room around the rim to display statement polish bottles. the 1 tiered susan is also great to keep some of my perfumes and toiletries on as well. everything went better than expected :) overall cost: $12 |
||
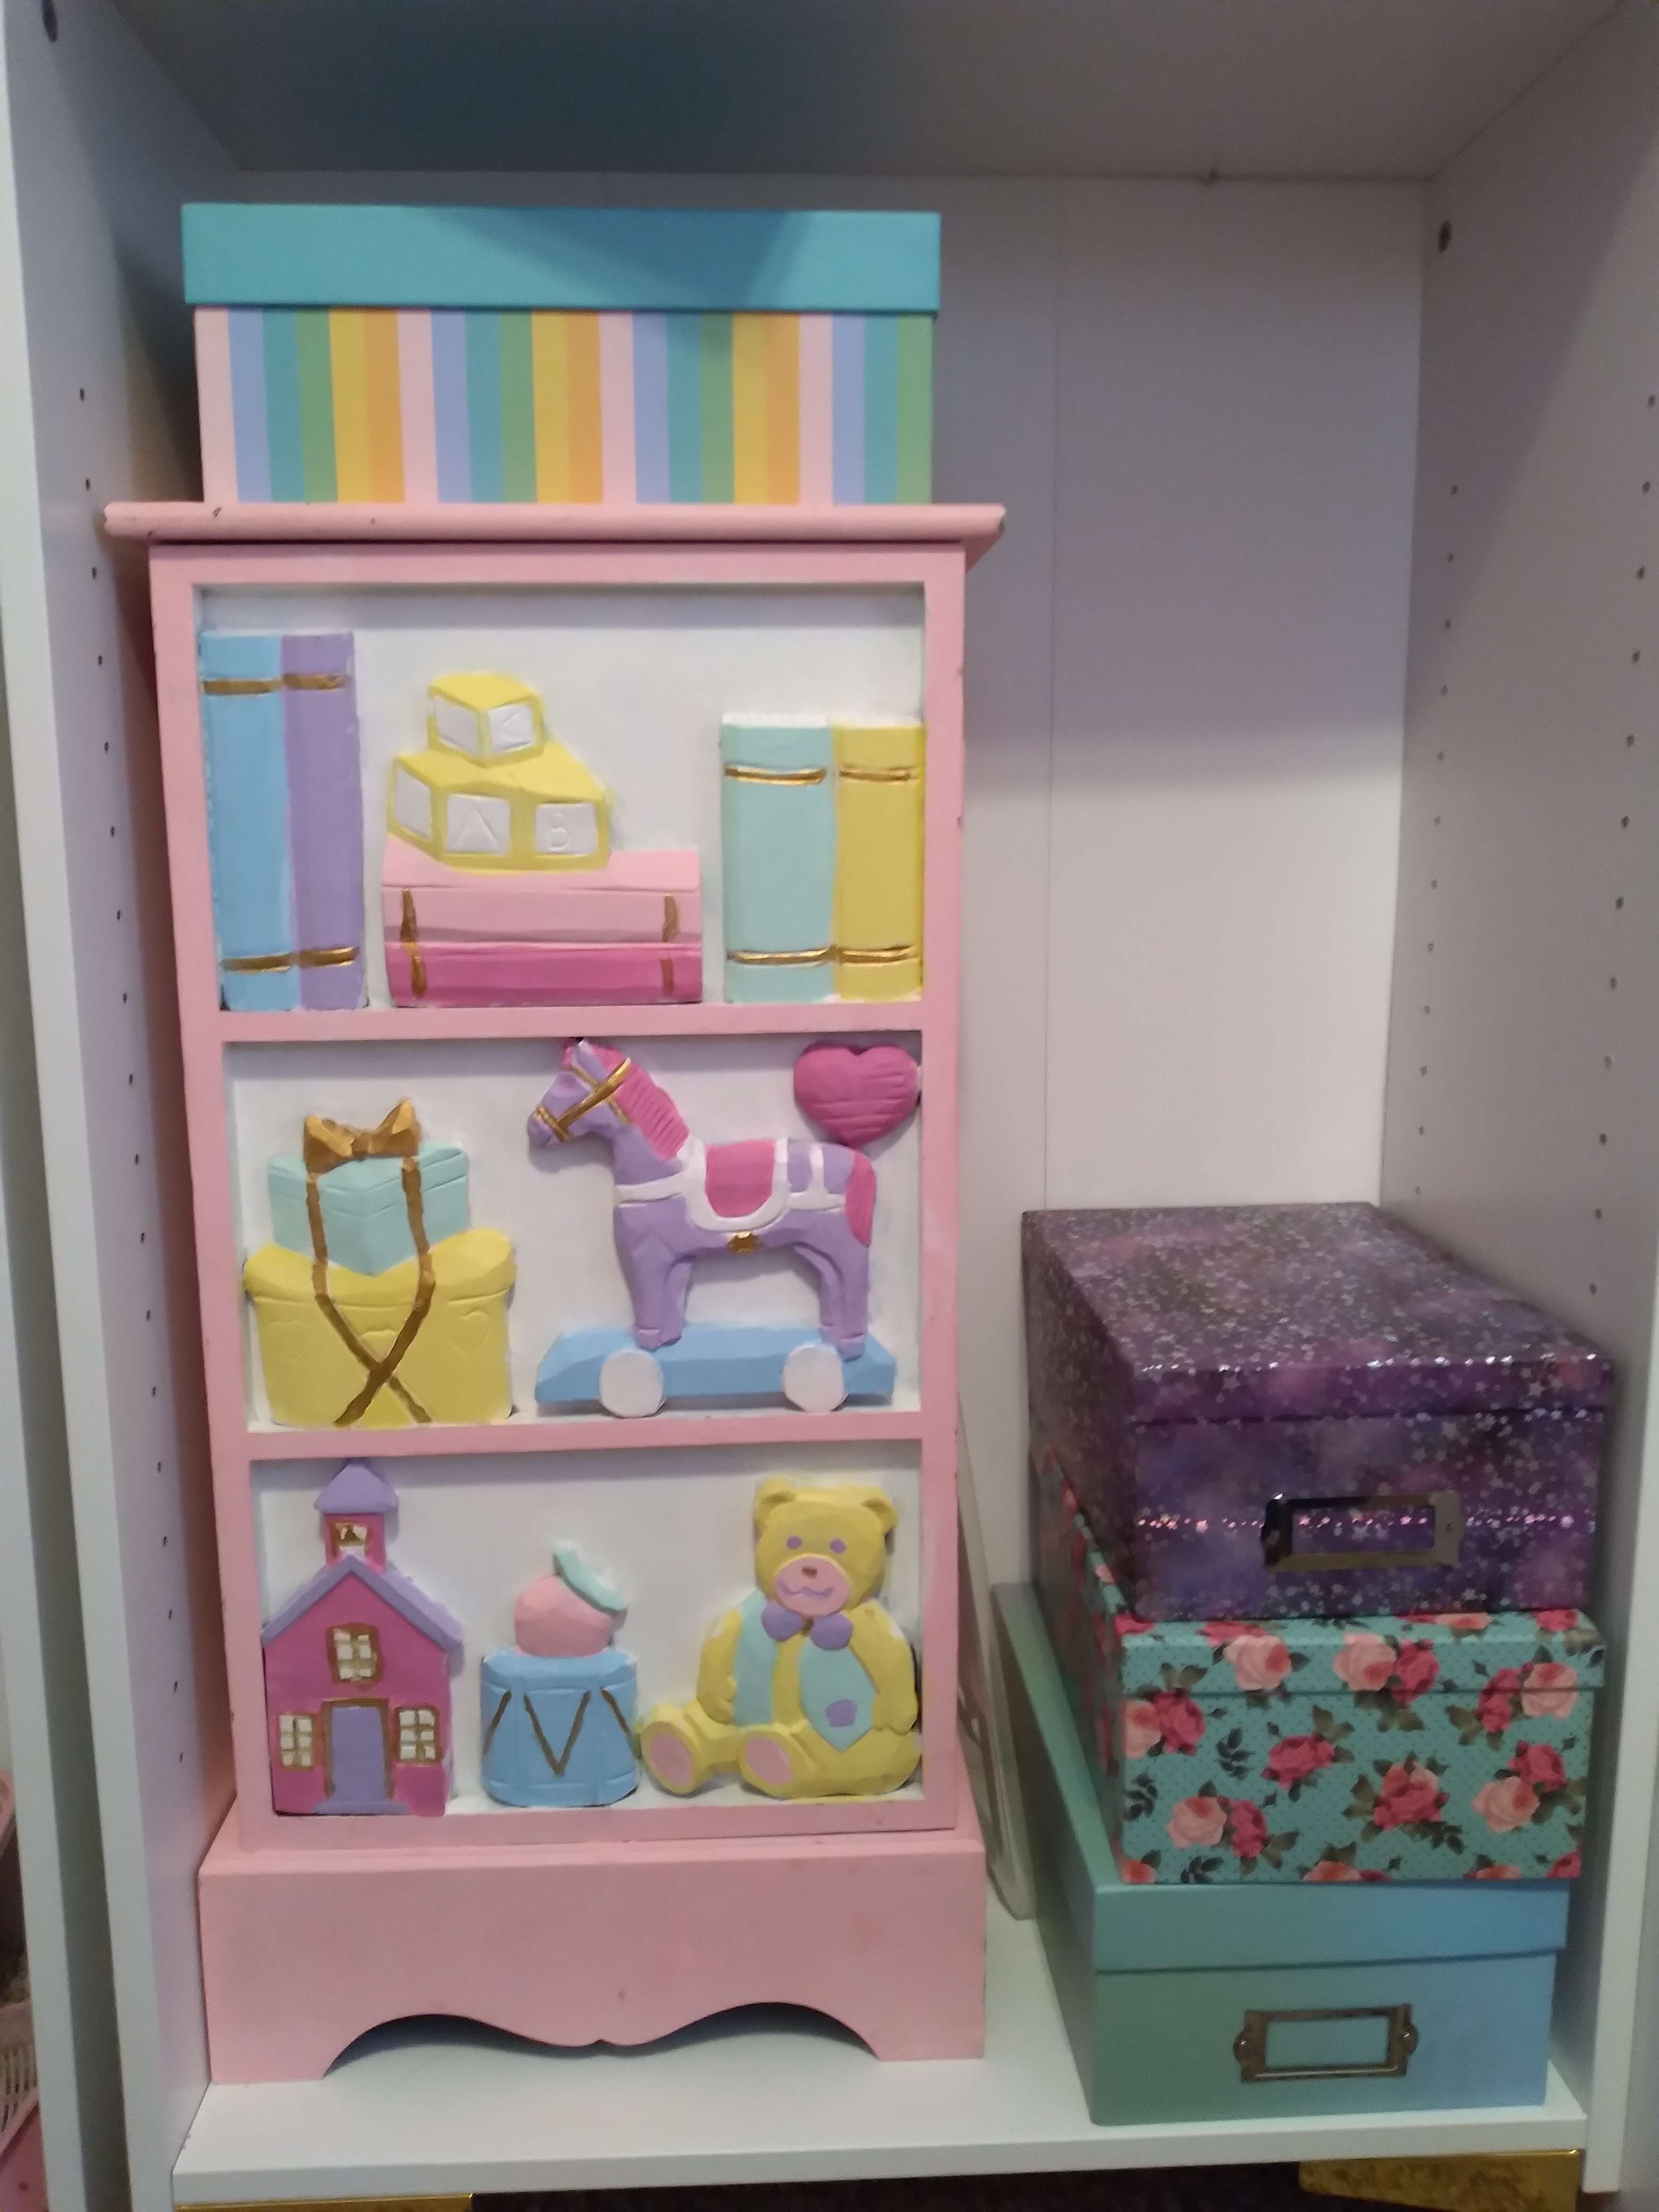
small cabinet
| before | after |
status: wip i've had this cabinet since i was a kid. i think the carving on the front is super cute, and the original colors really suited it... but they didn't suit my aesthetic. it's a perfect lil' cabinet that fits basically anywhere and because it has a hinged door and shelves inside it's also great storage, so i really didn't want to get rid of it when i started out i actually did not know how much of an undertaking this was but boy howdy has it taken a lot to get it to this point lol. it's gotten dinged in a move and my cats jumping on it have also damaged it, so it definitely needs a lot of touching up. there's some details i haven't quite gotten around to either but shhh :x i'm not even going to pretend i've been doing a great job because there are a lot of details i just don't have the delicate hands for, so "proud" isn't the word... but i am "content" with it, lol my fave part i did is probably the :3 face on the teddy bear, that was free hand. also yes it lives in one of my bookcases to save space and let me use extra shelves elsewhere :,) overall cost: $20 because i got all of the paint specifically for this purpose lol |
|

 i am poor and obsessive compulsive. sometimes it's cheaper and/or more satisfying to just... do it yourself :,) i have no idea what i'm doing except for my best lol